

TL;DR:
- A custom team kit is built to match a team’s identity, performance needs, and compliance standards. Proper planning ensures durable, high-quality apparel with effective branding, materials, and correct sizing, avoiding costly mistakes. Starting early, checking league rules, and choosing dye-sublimation printing lead to successful and long-lasting team uniforms.
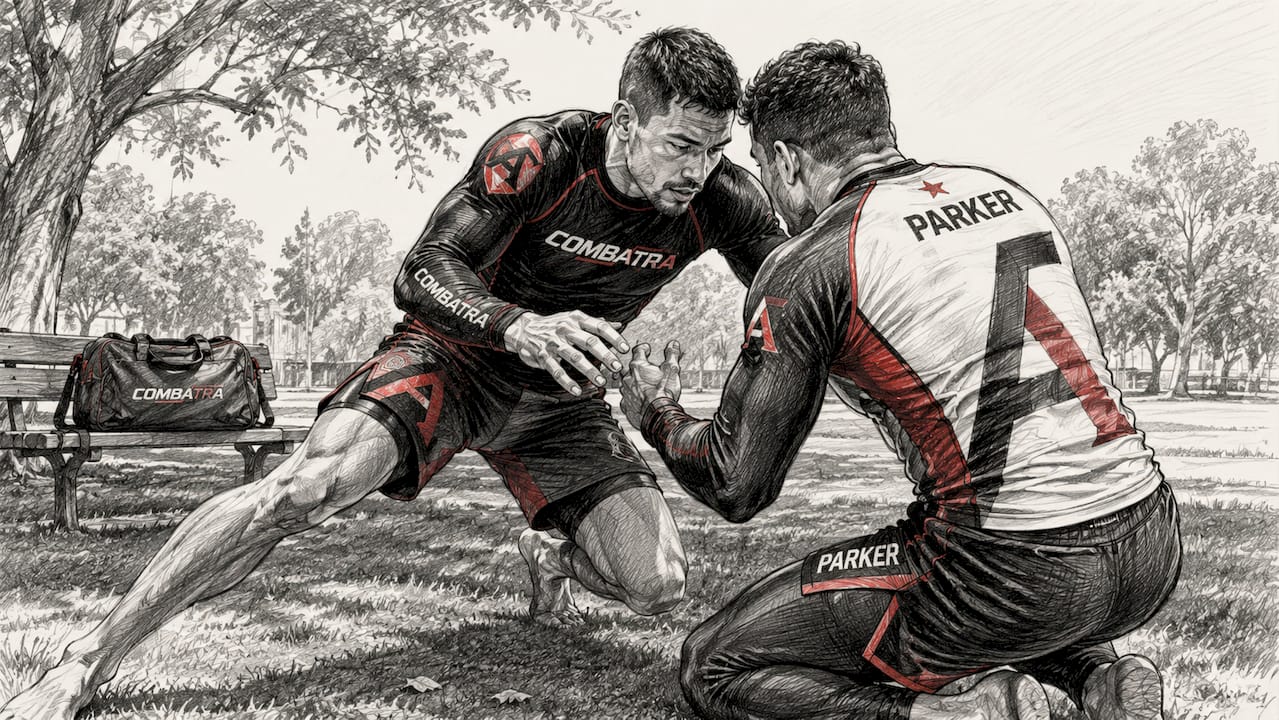
A custom team kit is defined as a set of coordinated uniforms and apparel built specifically for a team’s identity, performance requirements, and compliance standards. For coaches and managers in combat sports like BJJ and MMA, a well-built kit does more than look professional. It supports compression, manages sweat, protects against abrasion, and in Australia’s harsh UV conditions, quality rashguards rated to AS 4399:2020 and UPF 50+ provide critical sun protection during outdoor or summer training. Knowing how to build a complete custom team kit means making deliberate decisions at every stage, from design and fabric selection through to sizing, ordering, and compliance checks.
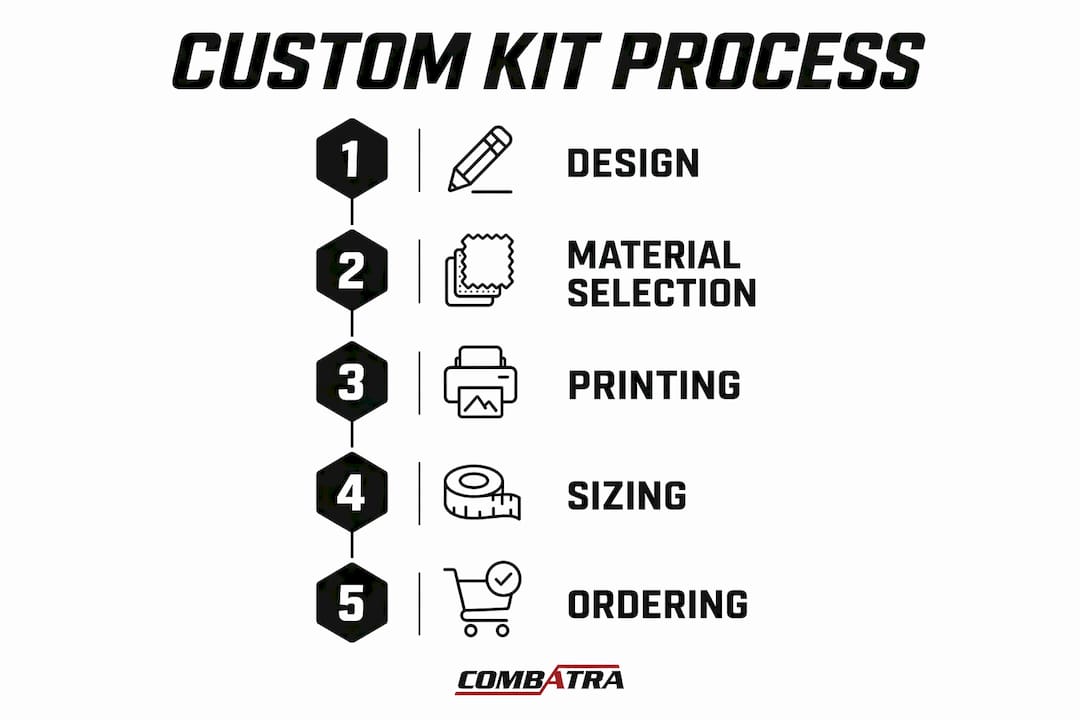
How to build a complete custom team kit: design foundations
The design phase sets the tone for every decision that follows. Defining your team’s visual identity early, whether that tone is aggressive, clean, or professional, shapes your colour choices, font selection, and overall aesthetic before a single garment is produced. Skipping this step leads to inconsistent kits that look assembled rather than designed.
Choosing your colour palette
A disciplined two-dominant-colours, one-accent palette is the standard for professional team kits. Using too many colours creates a jumbled appearance that is difficult to replicate consistently across shorts, socks, hoodies, and rashguards. Stick to two primary colours that reflect your club or academy, then use one accent colour sparingly for piping, numbering, or logo outlines.
Pro Tip: Choose colours with strong contrast between them. High contrast improves visibility on the field or mat and makes your team immediately recognisable from a distance.
Typography, numbering, and logo placement
Font selection for player numbers and names must prioritise readability from at least 10 metres away. Bold, block-style fonts outperform decorative scripts in match conditions. Logo placement follows a standard hierarchy: primary logo centred on the chest, secondary logo on the left sleeve, and sponsor marks on the right sleeve or lower back.
Most sports leagues and martial arts organisations specify minimum number sizes, placement zones, and contrast ratios. League compliance requirements for number placement and colour contrast are non-negotiable. Failing to meet them forces costly redesigns before your season even starts.
- Define team identity tone before opening any design software
- Limit your palette to two dominant colours and one accent
- Use bold, block fonts for numbers and names
- Follow league rules on number size, placement, and contrast
- Scale your logo correctly across all garment types
What are the best materials and printing methods for team kits?
Fabric and print quality determine how long your kit performs and how good it looks after 50 washes. Performance polyester blends, typically 100% polyester or polyester-spandex mixes, are the standard for sports kits. They wick moisture, resist odour, and hold their shape under repeated washing and physical stress.
Why dye-sublimation printing is the professional standard
Dye-sublimation printing bonds the design directly into the fabric fibres rather than sitting on top of them. This means the print cannot crack, peel, or fade the way screen printing or heat transfer methods do over time. For teams that train hard and wash their gear frequently, sublimation is the only printing method worth specifying.
Professional suppliers maintain strict colour profiles for sublimated prints to guarantee that reorders match the original kit exactly. This matters when you need to replace a garment mid-season or add new players to the roster. Always request fabric samples and colour swatches before committing to a full order.
Key factors to check when specifying fabric:
- Fabric weight (measured in GSM): heavier fabrics offer more durability; lighter fabrics improve breathability
- Polyester percentage: higher polyester content improves moisture wicking and print vibrancy
- Spandex or elastane content: adds stretch and compression for grappling and combat sports
- Colour consistency across dye lots: critical for matching future reorders
- UPF rating: for outdoor training in Australia, UPF 50+ rated fabric blocks over 98% of UV radiation
Pro Tip: Always order a sample garment before approving the full production run. Wear it through a training session and wash it twice. Check the fit, print clarity, and how the fabric feels under load.
How do you organise sizing and ordering for a team kit?
Collecting sizes from a full squad is one of the most underestimated logistical challenges in the kit-building process. Manual collection by email or paper form introduces errors and delays. A digital size collection form shifts accountability directly to each player and creates a clear record for your supplier.
Here is a practical step-by-step approach:
- Send a digital size form to all players with a firm submission deadline. Include chest, waist, and height measurements alongside standard size options.
- Set a hard deadline at least three weeks before you need to place your order. Late submissions cause production delays that affect the whole team.
- Order 2–3 extra units in your most common sizes. Ordering extras in popular sizes accommodates mid-season roster changes without triggering a new minimum order quantity.
- Check minimum order quantities (MOQs) with your supplier early. Most sublimation suppliers require a minimum of 10 units. Falling below that threshold raises the cost per unit significantly.
- Confirm final approved design files are ready in vector format (.AI or .EPS) before you contact the manufacturer. Having vector files ready before supplier contact shortens the proofing stage and reduces last-minute problems.
- Build a two-week buffer into your timeline beyond the manufacturer’s stated delivery estimate. Shipping delays and minor design revisions are common, and that buffer protects your season start date.
Pro Tip: Digital size collection forms reduce administrative workload and sizing errors compared to manual collection. Use a free tool like Google Forms or a shared spreadsheet to make the process easy for players.
What do timelines and costs look like for a custom kit order?
Realistic planning prevents the most common source of stress in kit projects: running out of time. The typical production timeline for a custom sublimated kit runs approximately 4–6 weeks from design approval to delivery.
| Stage | Estimated time |
|---|---|
| Design and proofing | 5 days |
| Production | 10–14 days |
| Shipping (domestic) | 2–5 days |
| Buffer for revisions or delays | 10–14 days |
| Total recommended lead time | 6–8 weeks |
On cost, sublimated jerseys for a team of 15 average around $46 per unit as of 2026. That figure rises when order quantities fall below the supplier’s MOQ. Ordering as a full squad rather than in small batches is the most cost-effective approach.
Before approving production, complete these steps in order:
- Review the digital proof against your original design brief
- Check all player names, numbers, and logo placements for accuracy
- Perform a compliance audit against your league or organisation’s uniform rules
- Order sample kits and test fabric quality, fit, and colour under different lighting conditions
- Wash the sample twice and inspect for colour fade or print degradation
- Confirm delivery date against your season schedule with the two-week buffer included
Starting the full ordering process at least 10 weeks before your season opens gives you enough time to handle any revision, reprint, or shipping issue without pressure.
What mistakes do coaches make when ordering custom team kits?
The most expensive mistakes in kit projects are avoidable. They share a common cause: rushing decisions that deserve careful attention.
- Skipping the compliance audit. League rules on number placement, font size, and colour contrast are specific. Missing them means reprinting at your cost.
- Submitting low-resolution logo files. Raster images below 300 DPI produce blurry prints. Always supply vector files (.AI, .EPS, or high-resolution .PDF).
- Underestimating sizing logistics. Without a firm deadline and a digital form, size collection drags on and delays the entire order.
- Skipping the sample stage. Approving a full order without testing a sample is a gamble. Fabric weight, colour accuracy, and fit can all differ from what you expected.
- Ignoring design consistency across garments. A logo that looks sharp on a rashguard may need rescaling for shorts or a hoodie. Check every garment type separately.
Pro Tip: Start your ordering process at least 10 weeks before you need the kit. That timeline gives you room for design revisions, a sample review, compliance checks, and a shipping buffer without any last-minute stress.
“The teams that get their kits right are the ones that treat the process like a project, not an afterthought. Plan early, involve your players in the design, and never skip the sample.” — experienced kit manager
Key takeaways
A complete custom team kit requires early planning, disciplined design choices, quality sublimation printing, and a compliance audit before any order is approved.
| Point | Details |
|---|---|
| Start with team identity | Define your visual tone and colour palette before any design work begins. |
| Use dye-sublimation printing | Sublimation bonds into fabric fibres and will not crack, peel, or fade with washing. |
| Collect sizes digitally | A digital form shifts accountability to players and reduces ordering errors. |
| Allow 6–8 weeks total | Build a two-week buffer beyond the manufacturer’s estimate to protect your season start. |
| Audit for compliance | Check league rules on number placement and colour contrast before approving the final proof. |
What I have learned from years of custom kit projects
The coaches who get the best results from custom kit projects are the ones who treat design as a team decision, not a solo task. Showing players two or three colour options and letting them vote takes five minutes. It builds genuine buy-in that shows up in how they wear the kit on game day.
The quality-versus-cost trade-off is real, but it is not where most managers think it is. The difference between a mid-range and a premium sublimated kit is rarely visible in photos. You feel it in the fabric weight, the compression, and how the garment holds up after a full season of hard training. Cutting costs on fabric to save $8 per unit is a false economy when you are replacing kits after six months.
My strongest advice is to start the process early and get your artwork into vector format before you speak to any supplier. Every delay I have seen in kit projects traces back to either late size submissions or artwork that was not print-ready. Fix those two things and the rest of the process runs smoothly.
The compliance audit step is the one coaches skip most often, and it is the one that causes the most expensive problems. Spend 30 minutes checking your proof against your league’s uniform guide. That half hour has saved more than a few teams from a full reprint.
— McGinnis
Combatra custom kits for combat sports teams
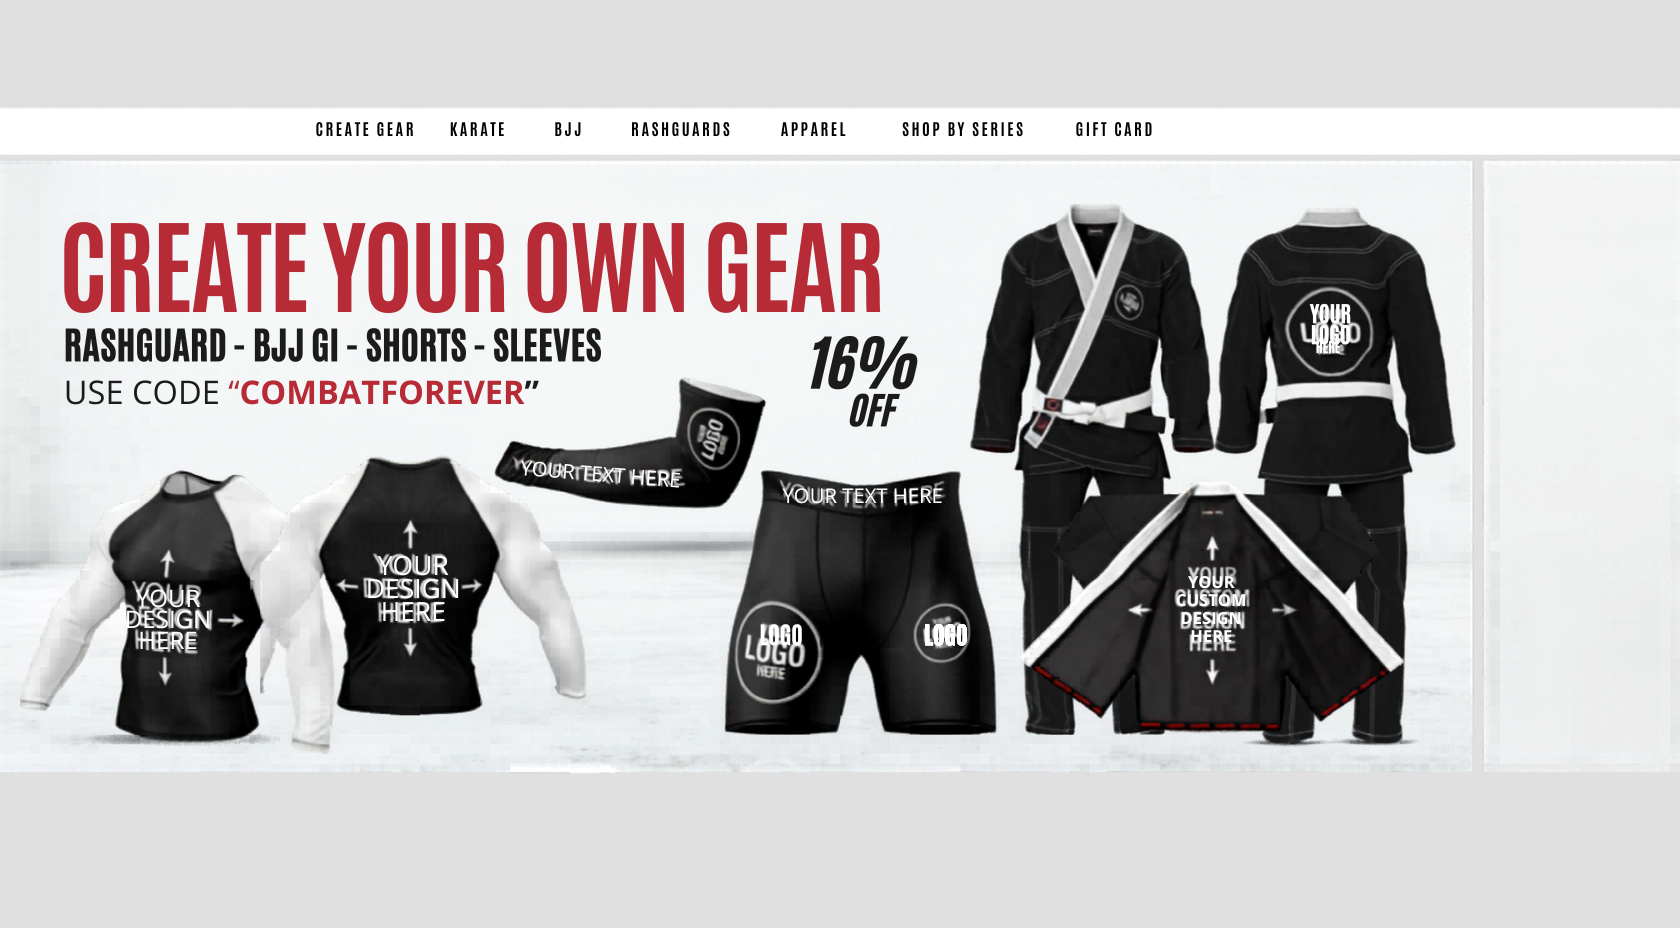
Combatra builds performance-grade custom apparel for BJJ, MMA, Karate, and outdoor training teams across Australia. Every garment is designed for movement, breathability, and long-duration wear, with UPF 50+ sun protection rated to AS 4399:2020 for teams training outdoors. You can personalise rashguards, compression wear, and martial arts uniforms with your academy’s colours, logo, and player names.
Combatra’s custom BJJ rashguards are built from performance polyester blends with dye-sublimation printing for lasting colour and durability. The range covers all sizes to suit every member of your squad. For martial arts teams, Combatra’s custom Karate uniforms offer lightweight and heavyweight options to match your training style and competition requirements.
FAQ
How long does it take to produce a custom team kit?
The typical production timeline is approximately 4–6 weeks, covering design, production, and shipping. Adding a two-week buffer brings the recommended total lead time to 6–8 weeks.
What is the best printing method for sports team kits?
Dye-sublimation printing is the professional standard for performance sportswear. It bonds the design into the fabric fibres so it cannot crack, peel, or fade with repeated washing.
How much does a custom sublimated team kit cost per unit?
Sublimated jerseys for a team of 15 average around $46 per unit as of 2026. Costs rise when order quantities fall below the supplier’s minimum order quantity.
What file format should I use for my team logo?
Always supply your logo as a vector file in .AI, .EPS, or high-resolution .PDF format. Raster images below 300 DPI produce blurry prints in sublimation production.
Do custom team kits need to meet league compliance rules?
Yes. Most sports leagues and martial arts organisations specify rules on number placement, font size, and colour contrast. Performing a compliance audit on your final proof before approving production prevents costly reprints.