
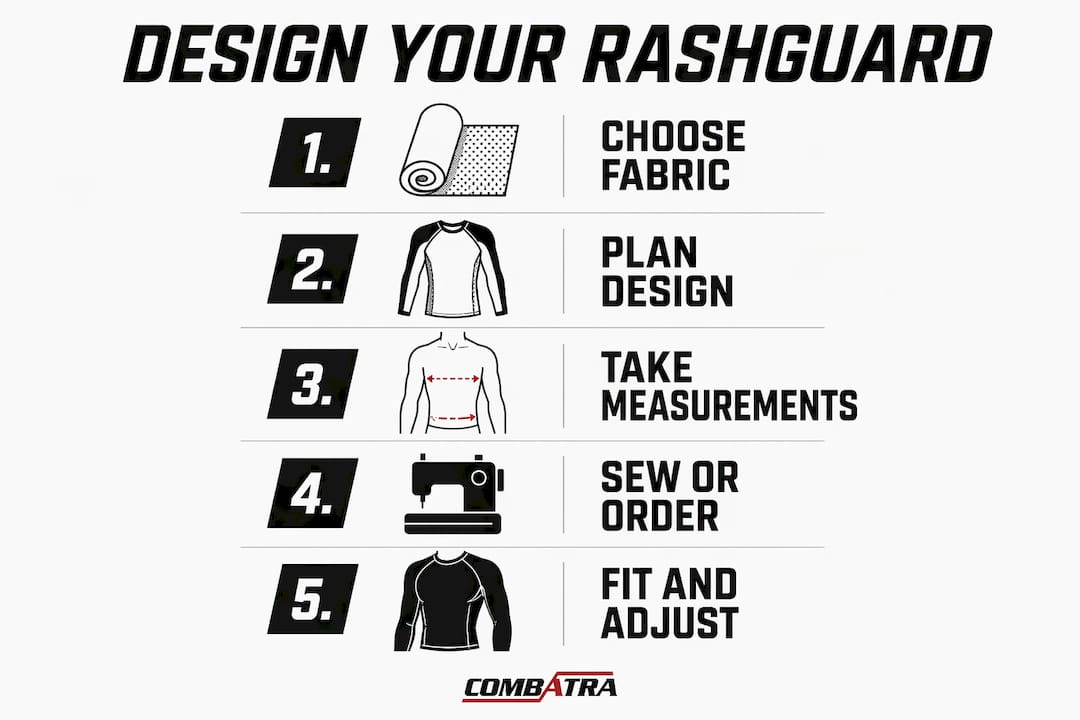
How to design your own rashguard: step-by-step guide
TL;DR:
- A rashguard is a versatile compression garment designed for performance, abrasion resistance, and sun protection, especially in outdoor Australian conditions. Choosing high-quality, 4-way stretch fabrics like nylon-spandex or polyester-spandex with strong recovery and proper negative ease is essential for durability and fit. Custom design and construction involve careful planning, precise measurements, and the use of specialized sewing techniques or sublimation printing to ensure long-lasting performance.
A rashguard is a compression garment designed to reduce abrasion, manage sweat, and support muscle function during high-contact training in BJJ, MMA, grappling, and outdoor sport. Designing your own custom rashguard gives you complete control over fit, fabric, and visual identity, whether you are sewing from scratch or ordering through a professional printing service. In Australia, where UV radiation levels are among the highest in the world, the right rashguard also serves as a critical layer of sun protection. Premium options are lab tested to AS 4399:2020 and rated UPF 50+, making fabric and construction choices far more consequential than they first appear. This guide walks you through every decision, from material selection to final fit checks, so your finished garment performs as hard as you do.
What fabrics work best for a custom rashguard?
4-way stretch fabric is the non-negotiable starting point for any rashguard build. The garment must move with your body in every direction without restricting range of motion, and it must return to its original shape after each stretch cycle. Without strong recovery, the fabric bags at the elbows and waist within a few training sessions.
The two most common fabric blends used in performance rashguards are nylon-spandex and polyester-spandex. Nylon-spandex is softer against the skin, more abrasion resistant, and holds colour vibrantly after sublimation printing. Polyester-spandex is more affordable, dries faster, and resists odour-causing bacteria more effectively. For Australian outdoor training, polyester-spandex with a tight weave structure also tends to score higher UPF ratings, which matters when you are training under direct sun for extended periods.
Pro Tip: Test any fabric swatch before you commit to a full cut. Stretch the fabric to 100% of its length, hold for five seconds, then release. If it snaps back quickly and returns to its original dimensions, the recovery is adequate. Slow or incomplete return means the garment will lose its compression fit prematurely.
The table below compares the three most common rashguard fabric options across the criteria that matter most for combat sports and outdoor use.
| Fabric | Stretch and recovery | UV protection | Best use case |
|---|---|---|---|
| Nylon-spandex | Excellent stretch, very good recovery | Moderate (depends on weave) | BJJ, MMA, skin-contact grappling |
| Polyester-spandex | Good stretch, good recovery | High (tight weave achieves UPF 50+) | Outdoor training, surf, summer sport |
| Lycra/tricot knit | Excellent stretch, moderate recovery | Low without treatment | Lightweight layering, low-abrasion use |
How to plan your rashguard design: tools and visual elements
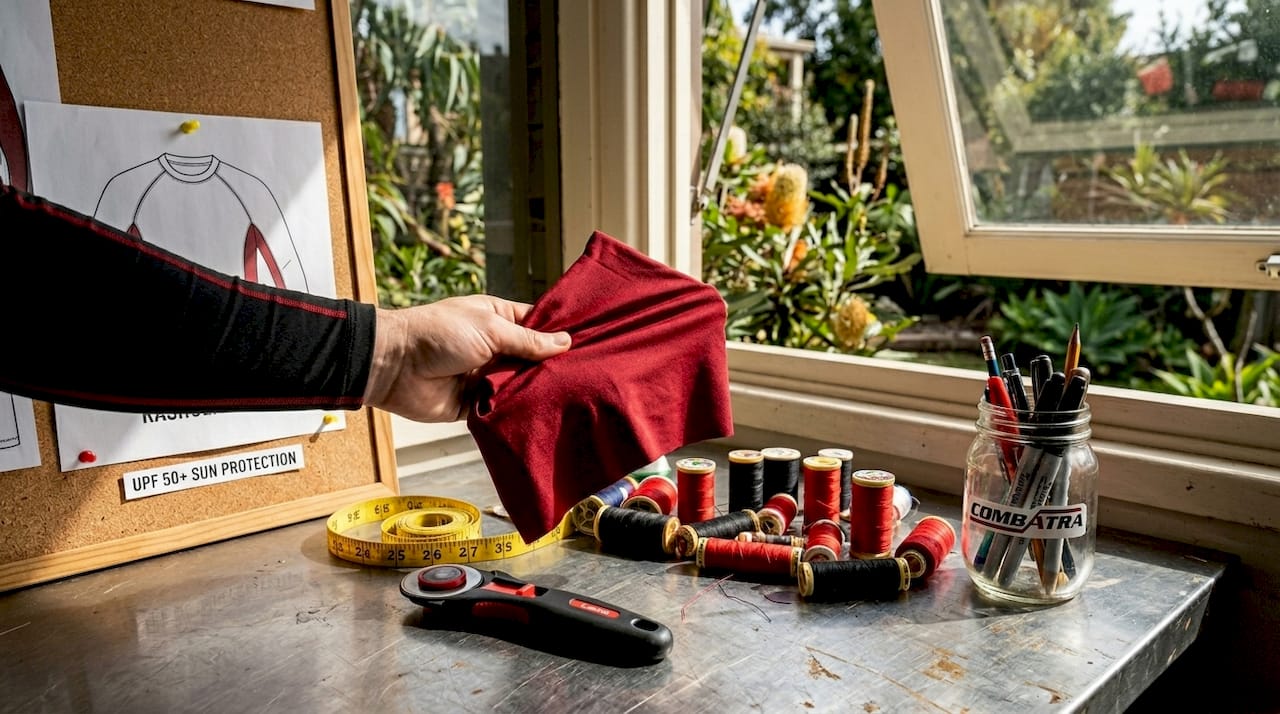
Design planning is where most first-time builders underestimate the time required. A successful rashguard design balances function and aesthetic by incorporating sport-specific requirements early, before you open any software. Start by defining the purpose: is this for a BJJ academy team, personal competition wear, or outdoor sun protection? That answer shapes every visual decision that follows.
For digital design work, Adobe Illustrator is the industry standard for rashguard artwork because it produces vector files that scale without quality loss. Canva works well for simpler designs and is more accessible for beginners, though it has limitations when preparing files for sublimation printing. If you are ordering through a custom print service, confirm the required file format and resolution before you start building your artwork.
Key design considerations to address before you finalise any artwork:
- Colour contrast: High-contrast colour combinations improve visibility during training and photograph well for team documentation. Avoid colours that are too similar in tone, as they flatten the design under gym lighting.
- Logo placement: Place logos and text on flat panels of the garment, away from seams and high-stretch zones. Artwork that crosses a seam distorts during wear.
- File resolution: Sublimation printing requires a minimum of 150 DPI at print size, though 300 DPI is the professional standard. Low-resolution files produce blurry, pixelated graphics on the finished garment.
- Template alignment: Most reputable custom print services supply a garment template file. Design directly within that template to avoid misalignment between panels.
Pro Tip: If you are designing for a team, collect feedback from at least three athletes before finalising colours and logo placement. What looks balanced on screen often reads differently on a moving body.
For design inspiration before committing to a direction, Combatra's collection of rashguard design examples shows how experienced designers handle panel transitions, colour blocking, and logo integration across different sport contexts.
Step-by-step process: DIY sewing versus custom ordering
Both paths produce a wearable rashguard, but they suit different skill levels, budgets, and timelines. Here is how each process works in practice.
Sewing your own rashguard
- Select and pre-wash your fabric. Pre-washing removes any sizing agents and allows the fabric to shrink before cutting. This prevents your finished garment from distorting after its first wash.
- Choose or draft a pattern. Commercial patterns from companies like Jalie or McCall's include rashguard options with size grading. Adjust the pattern for negative ease before cutting, as the garment must be smaller than your body measurements to achieve compression.
- Cut fabric on grain. Align the greatest stretch direction horizontally across the body. Cutting off-grain causes the garment to twist and pull during wear.
- Sew with the correct equipment. Overlocked or flatlock seams using a serger are the professional standard. If you do not have a serger, a zigzag stitch on a standard machine with a ballpoint needle is an acceptable substitute. Standard straight stitches will break under stretch.
- Attach neck and sleeve bindings. Cut binding strips on the bias or use fold-over elastic. Stretch the binding slightly as you sew to prevent gaping or curling at the neckline.
- Press seams flat and test the fit. Try the garment on before trimming threads. Check that seams lie flat, the neckline sits without gaping, and the sleeves allow full overhead reach.
Ordering a custom printed rashguard
- Choose a provider that offers sublimation printing and supplies a garment template.
- Upload your artwork file in the required format (typically PDF or AI at 300 DPI).
- Review the digital mockup carefully. Many services, including those that offer design assistance and mockups, will flag artwork issues before printing begins.
- Select your size using the provider's measurement chart, not your standard clothing size.
- Approve the sample or proof before authorising a bulk run.
Cost comparison
| Method | Approximate cost | Lead time | Best for |
|---|---|---|---|
| DIY sewing | $30–$60 in materials | 1–3 days (experienced sewers) | Custom fit, single pieces |
| Budget custom order | $20–$30 per unit | 2–4 weeks | Basic designs, low volume |
| Premium custom order | $75–$85 per unit | 3–6 weeks | Teams, competition wear, durability |
For a deeper look at how professional printing works, Combatra's guide on custom BJJ rashguard printing explains sublimation technology and material specifications in detail.
How to get the fit right and achieve proper compression
Compression fit is the defining functional characteristic of a rashguard. A garment that fits like a standard t-shirt provides none of the muscle support, friction reduction, or performance benefits that make rashguards worth wearing. Negative ease is the technical term for this: the garment's cut measurements are intentionally smaller than your body measurements, so the fabric stretches to fit and holds firm against the skin.
To take accurate measurements for a rashguard, you need four key numbers:
- Chest circumference: Measure at the widest point, keeping the tape parallel to the floor.
- Waist circumference: Measure at the natural waist, not the hips.
- Torso length: Measure from the top of the shoulder to the desired hem point.
- Sleeve length and bicep circumference: Measure from the shoulder seam point to the desired sleeve end, and around the fullest part of the upper arm.
For a compression fit, subtract 10 to 15 percent from your chest and bicep measurements when cutting or selecting a size. This range produces a firm but comfortable hold. Going beyond 20 percent negative ease creates a garment that is difficult to put on and restricts blood flow during extended wear.
Pro Tip: If you are between sizes when ordering online, size down rather than up. Rashguard fabrics are designed to stretch, and a slightly snug fit will relax with body heat during training. A loose fit will not tighten up.
Poor fit also shortens garment life. A rashguard that is too large shifts and bunches under a gi or during ground work, creating friction points that wear through the fabric prematurely. Compression fit from negative ease improves muscle support and recovery, which is a measurable performance benefit beyond aesthetics.
Common mistakes when making your own rashguard
Most problems in DIY rashguard construction trace back to three sources: wrong fabric, wrong needle, or wrong tension. Knowing what to look for saves you from unpicking and resewing entire panels.
- Puckered seams: This almost always means your thread tension is too high or you are using a standard sharp needle on stretch fabric. Switch to a ballpoint or stretch needle and reduce upper thread tension by one increment at a time until the seam lies flat.
- Wavy hems: Caused by stretching the fabric while sewing rather than letting it feed naturally. Use a walking foot if your machine supports one, and guide the fabric without pulling.
- Neck binding that gaps or curls: The binding strip was cut too long or not stretched enough during attachment. Measure the binding at 90 percent of the neckline length and stretch it evenly as you sew.
- Fabric with poor recovery: If you skipped the swatch test and cut into fabric that does not snap back, the garment will bag at the elbows and waist after a few sessions. There is no fix after cutting. Test stretch and recovery before you commit.
- Blurry or distorted print graphics: Low-resolution artwork is the most common cause. Always supply files at 300 DPI at the actual print dimensions. Scaling a small file up in the print software does not add resolution.
"The difference between a rashguard that lasts two years and one that falls apart in two months is almost always in the fabric test and the seam construction. Neither step takes more than ten minutes, but both are skipped constantly by first-time builders."
For a detailed walkthrough of the personalisation process from an athlete's perspective, the step-by-step customisation guide at Combatra covers sport-specific adjustments that go beyond standard sewing tutorials.
Key takeaways
Designing your own rashguard requires the right fabric, precise measurements with negative ease, and either flatlock sewing technique or sublimation printing to produce a garment that holds up under real training conditions.
| Point | Details |
|---|---|
| Fabric choice is foundational | Use nylon-spandex or polyester-spandex with strong 4-way stretch and fast recovery. |
| Negative ease creates compression | Cut or order 10 to 15 percent smaller than body measurements for a functional fit. |
| Sewing requires specialist stitches | Use a serger or zigzag stitch with a ballpoint needle; standard straight stitches break under stretch. |
| Sublimation is the best print method | Sublimation graphics become part of the fabric and will not peel, crack, or fade. |
| Test before you commit | Stretch and recovery tests on fabric swatches prevent premature wear and wasted materials. |
What I have learned designing rashguards for combat sports
Designing rashguards for BJJ and MMA athletes taught me that the gap between a garment that looks good and one that actually performs is almost entirely in the fabric selection and seam construction. I spent months early on choosing fabrics based on colour availability rather than recovery performance, and the results were predictable. Garments that looked sharp on day one were bagging at the elbows by week three.
The Australian climate adds a layer of complexity that most international sewing tutorials do not address. Training outdoors in Queensland or Western Australia means your rashguard is doing double duty as sun protection. A fabric that achieves UPF 50+ through tight weave construction is not the same as one that achieves it through chemical treatment. The weave-based rating holds up through repeated washing; the chemical treatment degrades. That distinction matters when you are wearing the garment for hours in direct sun.
My honest advice for anyone starting out: do not try to sew and design simultaneously on your first build. Get the construction right on a plain fabric first. Once your seams are flat and your fit is dialled in, then invest time in the design work. Combining a technically sound garment with strong visual design is where the real satisfaction comes from. Patience in the early builds pays off significantly in the finished product.
— McGinnis
Build your custom rashguard with Combatra

Combatra designs and manufactures premium custom rashguards built for BJJ, MMA, Karate, and outdoor training, using fabrics that are lab tested to AS 4399:2020 and rated UPF 50+. Every garment is constructed with performance stitching and 4-way stretch materials that hold their shape through the hardest training sessions. Whether you want to apply the design skills from this guide or work with Combatra's in-house design team, you can build your own rashguard with your choice of colours, logos, and personalised details. Bulk order discounts are available for academies and teams. Explore the full range and start your custom order today.
FAQ
What is the best fabric for a DIY rashguard?
Nylon-spandex and polyester-spandex blends with 4-way stretch and strong recovery are the best choices. Polyester-spandex is preferred for outdoor use due to its higher natural UPF rating.
How much negative ease should a rashguard have?
A rashguard should be cut 10 to 15 percent smaller than your body measurements to achieve a proper compression fit without restricting circulation.
Can I sew a rashguard without a serger?
Yes. A zigzag stitch on a standard sewing machine with a ballpoint or stretch needle produces a seam that stretches with the fabric. Standard straight stitches will break under the tension of stretch fabric.
What is sublimation printing and why does it matter?
Sublimation printing bonds ink directly into the fabric fibres, producing graphics that will not peel or crack. It is the preferred method for custom rashguards because it maintains colour and detail through repeated washing and heavy use.
How much does a custom rashguard cost to make or order?
DIY sewing costs roughly $30 to $60 in materials. Budget custom orders through online services start at around $20 to $30 per unit, while premium custom options with enhanced durability and print quality range from $75 to $85 per unit.